-40%
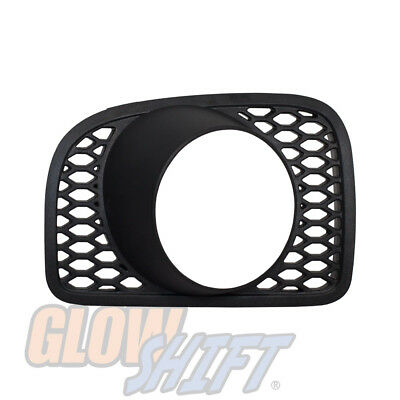
2008 - 2014 WRX STI 52mm center vent dual gauge pod mount
$ 18.48
- Description
- Size Guide
Description
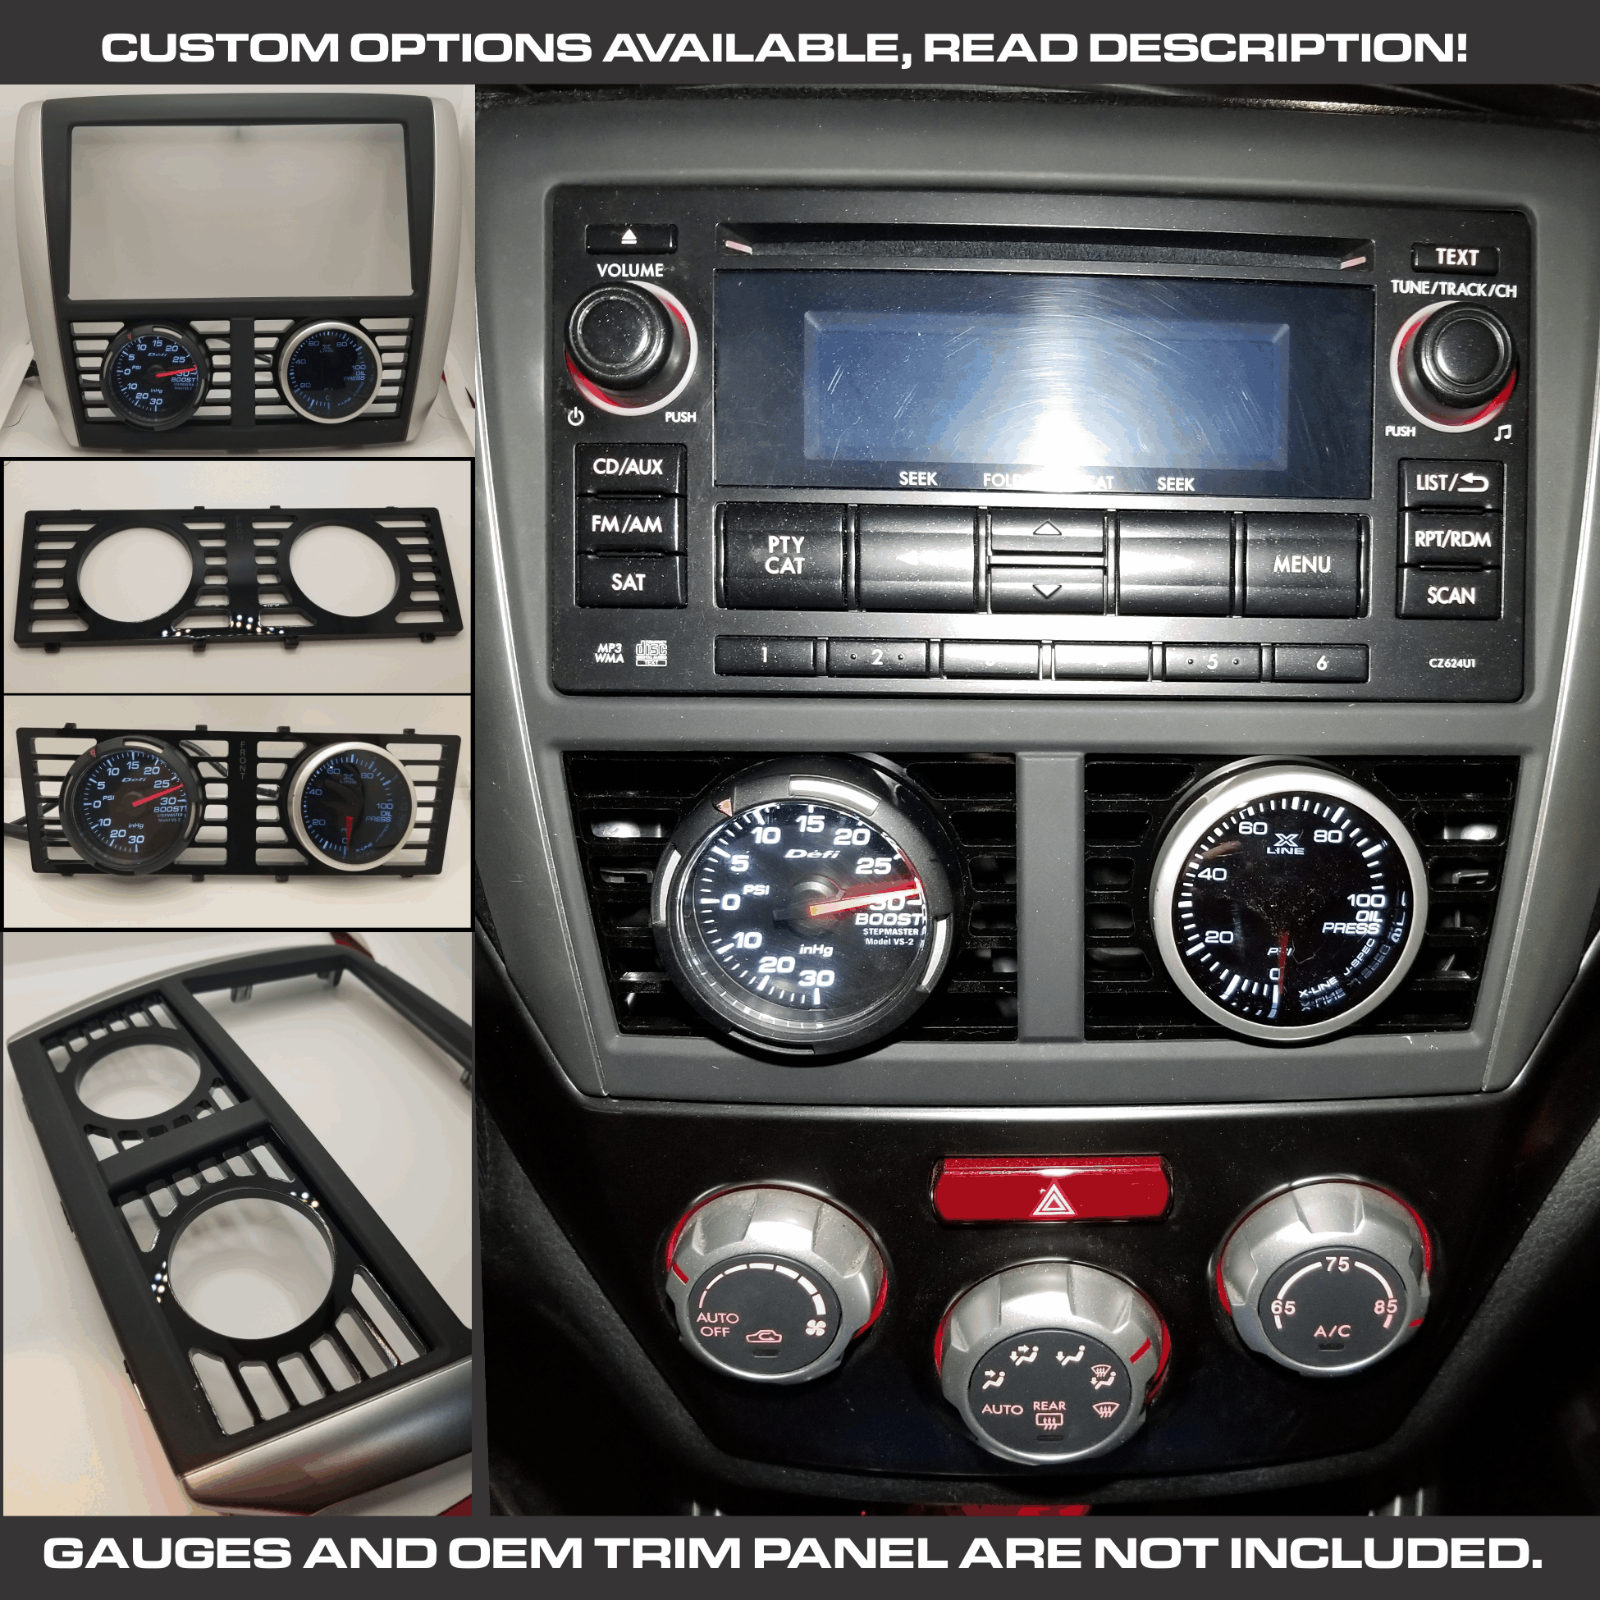
Hey! Up for sale i have these custom wrx/sti gauge mounts for the 2008-2014 generation. These allow you to install an aftermarket 52mm gauge into your interior without disrupting the oem design. As a bonus there are vents around the gauge hole that allow your vents to still function like normal. Please read below for more details!----->Fitment
These are designed to fit the original panels on 2008-2014 wrx/sti. They are very easy to install, and simply click into place using the mounting points of the original ac vent. They are designed to hold a 52mm gauge. Some gauges may have a trim ring that goes around the gauge. If that ring is too big, it may not clear the original panel, so you would need to space the gauge further out. Ive not encountered this issue before, but i know every brand is different. Any gauge that has a trim over 63mm may run into that issue. Please read the instructions below for more details.
----->Materials
Unlike others who use cheap 3d prints that have a terrible finish and warp easily, these are made from 1/4in lasercut high gloss black acrylic. They are much stronger and dont look cheap comparatively. I may offer other materials, please read the custom section below.
----->Important!
-THIS LISTING IS ONLY FOR A VENT PANEL TO HOLD THE GAUGE. THERE ARE NO GAUGES INCLUDED, AND NO OEM DASH PANEL INCLUDED.
-Since each gauge is different i do not include mounting provisions. That is always included with your gauges when purchased. The holes on these are not designed for a friction fit. I usually use the u clamps included with the gauge, or the rubber band style. If you are missing those, you can use a ziptie wrapped around the gauge to pin it to the panel.
-While strong, these are still made from acrylic and can crack/snap if handled improperly. Please do no drop or bend.
-Do not use harsh cleaners or you may damage the finish.
-These only install one way, so please read the instructions below for details.
-The original vent is held on by small clips and these vent mounts reuse the same ones. You must handle these clips carefully as they can snap. Please read the instructions below and understand that im not responsible for any damage you incur. If you do break a few clips it should still hold as there are 8 all together. A dab of silicone or glue can substitute a broken clip if necessary.
----->Custom Options
-While this listing is for dual gauge, i do have single guage listed as well. Check my other listings in my profile or send me a dm.
-These are made in house and can be tailored to your needs in any way you can think of. I can do different positioning for the gauges, different shapes if you have a different item youd like to mount, like a boost controller for example. Blockoff plates, switch mounts, etc. If you have an idea, feel free to reach out.
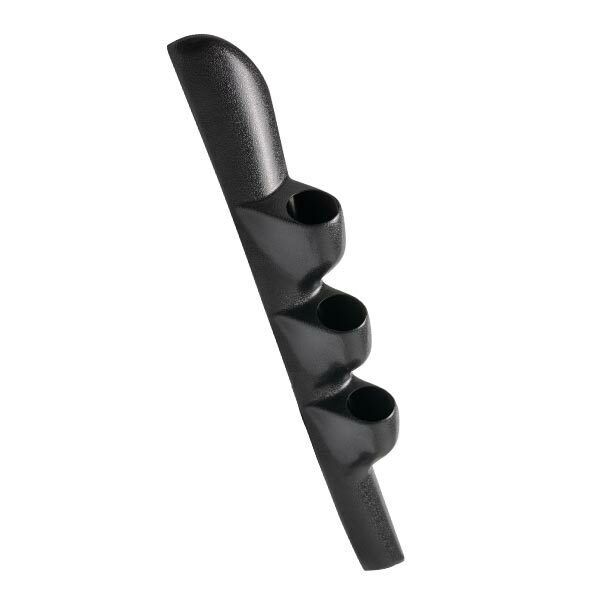
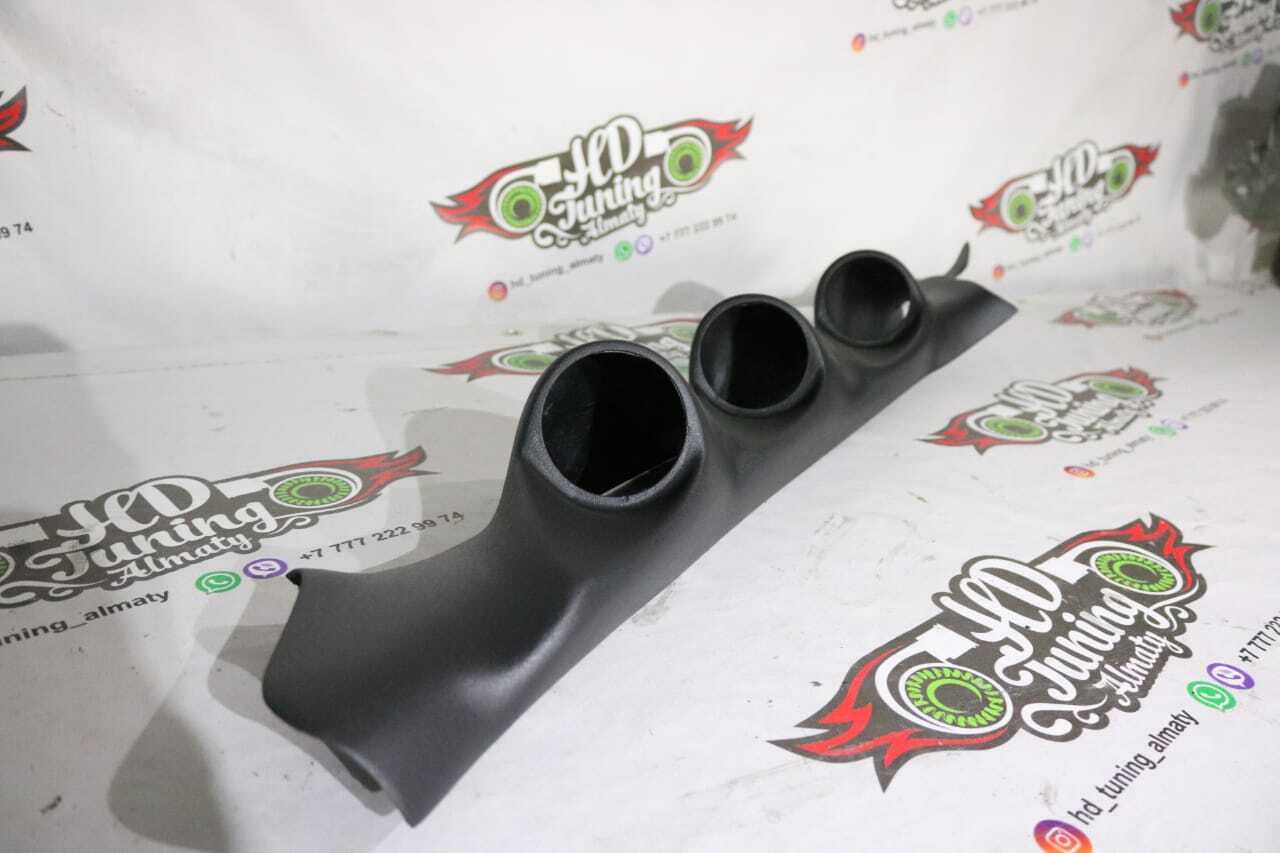
-There is the option to run 3 gauges, but the space is much tighter. The vent space becomes almost nonexistant, and you need to cut the center support. Message me if youd be interested in trying something like that.
-Currently there arent too many color options in 1/4in acrylic. If you are willing to take a risk with running 1/8th acrylic, i can offer a few more colors and finishes. They can be painted and vinyl wrapped as well.
-Additional logos/writing can be etched onto the panels if youd like.
----->Instructions
Please look at the assembly pic in the listing, and read below. Message me if you cant figure it out based on these instructions. Wearing gloves is recommended to prevent finger prints, and a soft microfiber towel is recommended if you need to wipe the panels clean. Do not use aggressive chemicals on acrylic.
1) Remove your original panel, it can be pryed off the dashboard. I usually start at the top and work my way down. A trim pry tool is highly recommended to prevent damage. (Not pictured)
2) Once removed, place the panel face down and locate the 8 tabs that hold your factory vents to the panel. Beginning on the bottom side, carefully pry the 4 tabs open while pulling the vent away. Be careful, because you can snap these. Once the bottom is free, the vent can be pulled off the panel.
3) Take your new gauge panel, and notice that "front" is etched on one side. That side faces outward. To install, you need to angle the panel into the top tabs first. Once the teeth are lined up, push them into the top holes, and then there will be enough space to angle the bottom side down and push it into the bottom clips. So top clips first, then bottom, it wont work if you try it any other way, and you may break the panel.
4)Install your gauges, and reassemble into the interior.
**To remove, unclip the panel from the bottom 4 teeth first, and then slide and angle them out of the top teeth.
